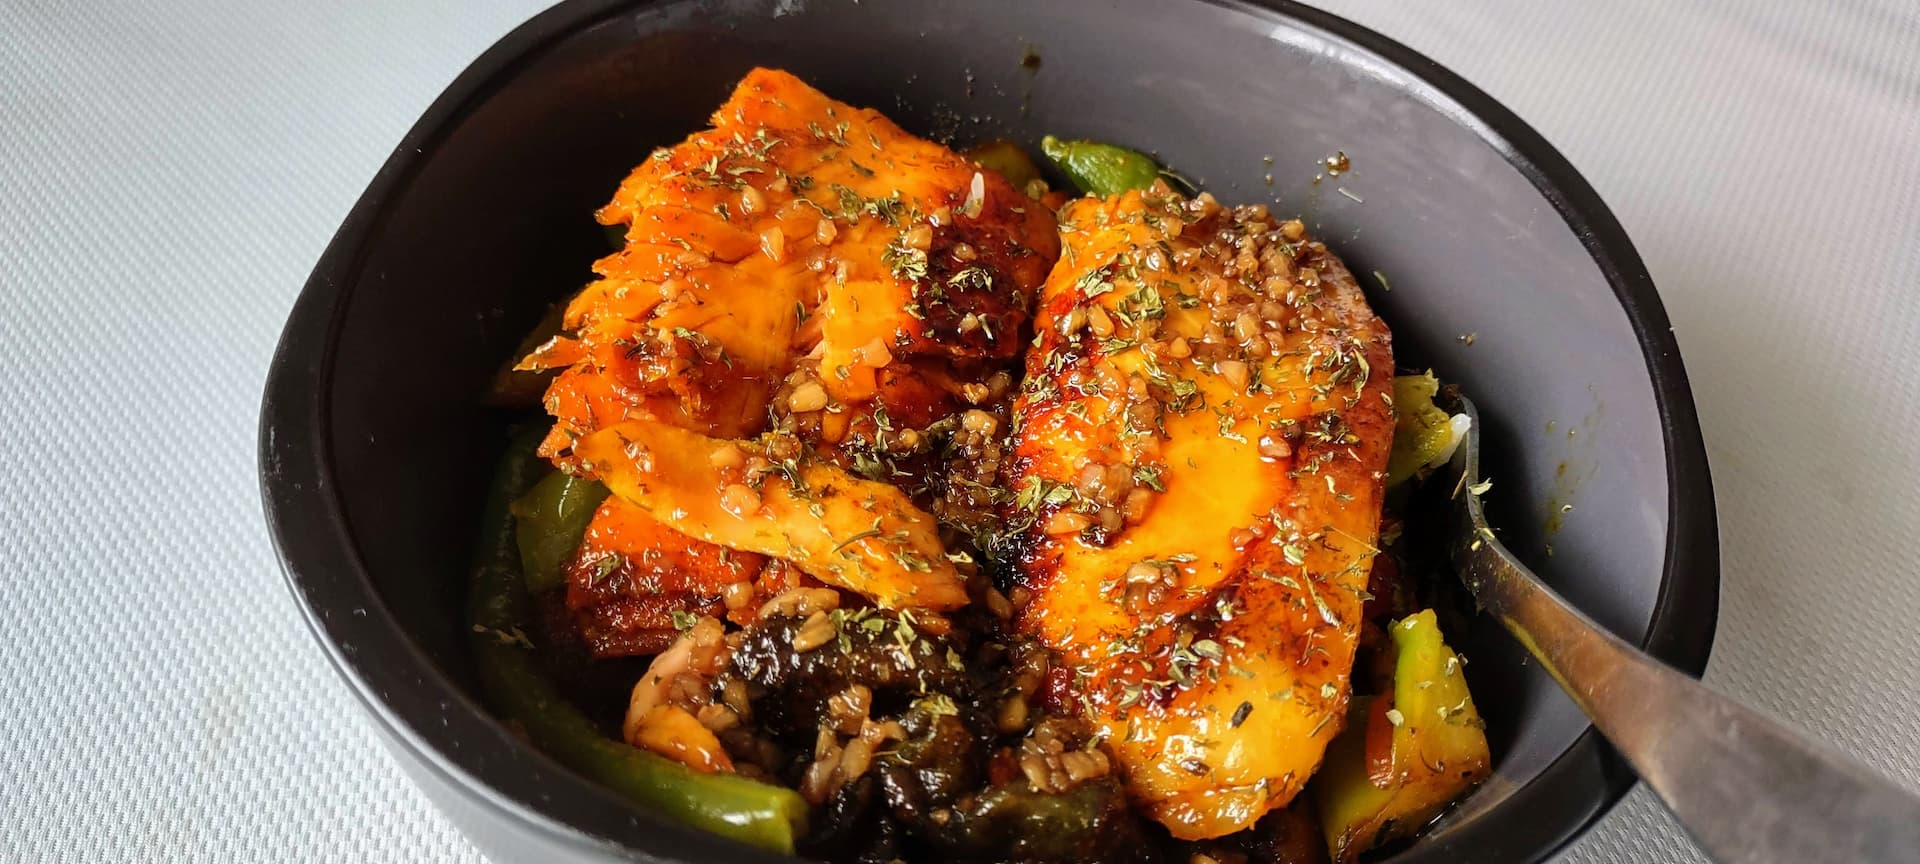
This sweet and savory dish is perfect for a night in. Put on a movie, bring some friends and share a delicious meal. This honey garlic salmon stir-fry an easy recipe that doesn’t take long to make. The rice will take the most time to cook but can be a cinch when using a rice cooker.
This honey garlic salmon stir-fry was adapted from this sauce recipe. As with all recipes, it’s best to make it your own. Add the levels of seasoning you prefer or even add more! I would also add some alcohol – wine or beer – to the sauce (if everyone is of legal drinking age) to add to the flavor profile.
Honey Garlic Salmon Stir-Fry Recipe
Ingredients
1 cup rice
2 tbsp butter
2-4 salmon fillets, 4oz each
1 tsp paprika
2 tsp Italian seasoning
1/2 tsp turmeric or cumin
salt
pepper
3-4 cloves garlic, minced
3/4-1 cup honey
1.5 tbsp soy sauce
2 tbsp lemon or lime juice
14-16 oz stir-fry vegetables
Preparation
Begin preparing rice according to directions (will be different depending on the type of rice used). The rice will take the longest so put it on first. You can even wait until the rice is about half-way through before starting the rest.
Mix honey & soy sauce in a small bowl
Add a small amount of oil and 1 tbsp butter to a large skillet and set to high heat
Add vegetables and saute until they begin to brown, season with Italian seasoning while cooking
Turn heat down to medium-high
Season salmon with paprika, turmeric or cumin, salt, and pepper (to taste)
Place salmon skin-side down on the pan and cook 3-5 minutes (until about 1/2-3/4 cooked through)
Pour 1/2 of the honey and soy sauce over the fillets
Add remaining butter and flip fillet
Top with garlic
Flip fillet and pour remaining honey sauce over it
Cook another couple minutes, spooning sauce over the fillets until they are fully cooked and easily faked with a fork
Remove from heat
When rice is done, add to bowl and top with stir-fry vegetables and salmon fillet
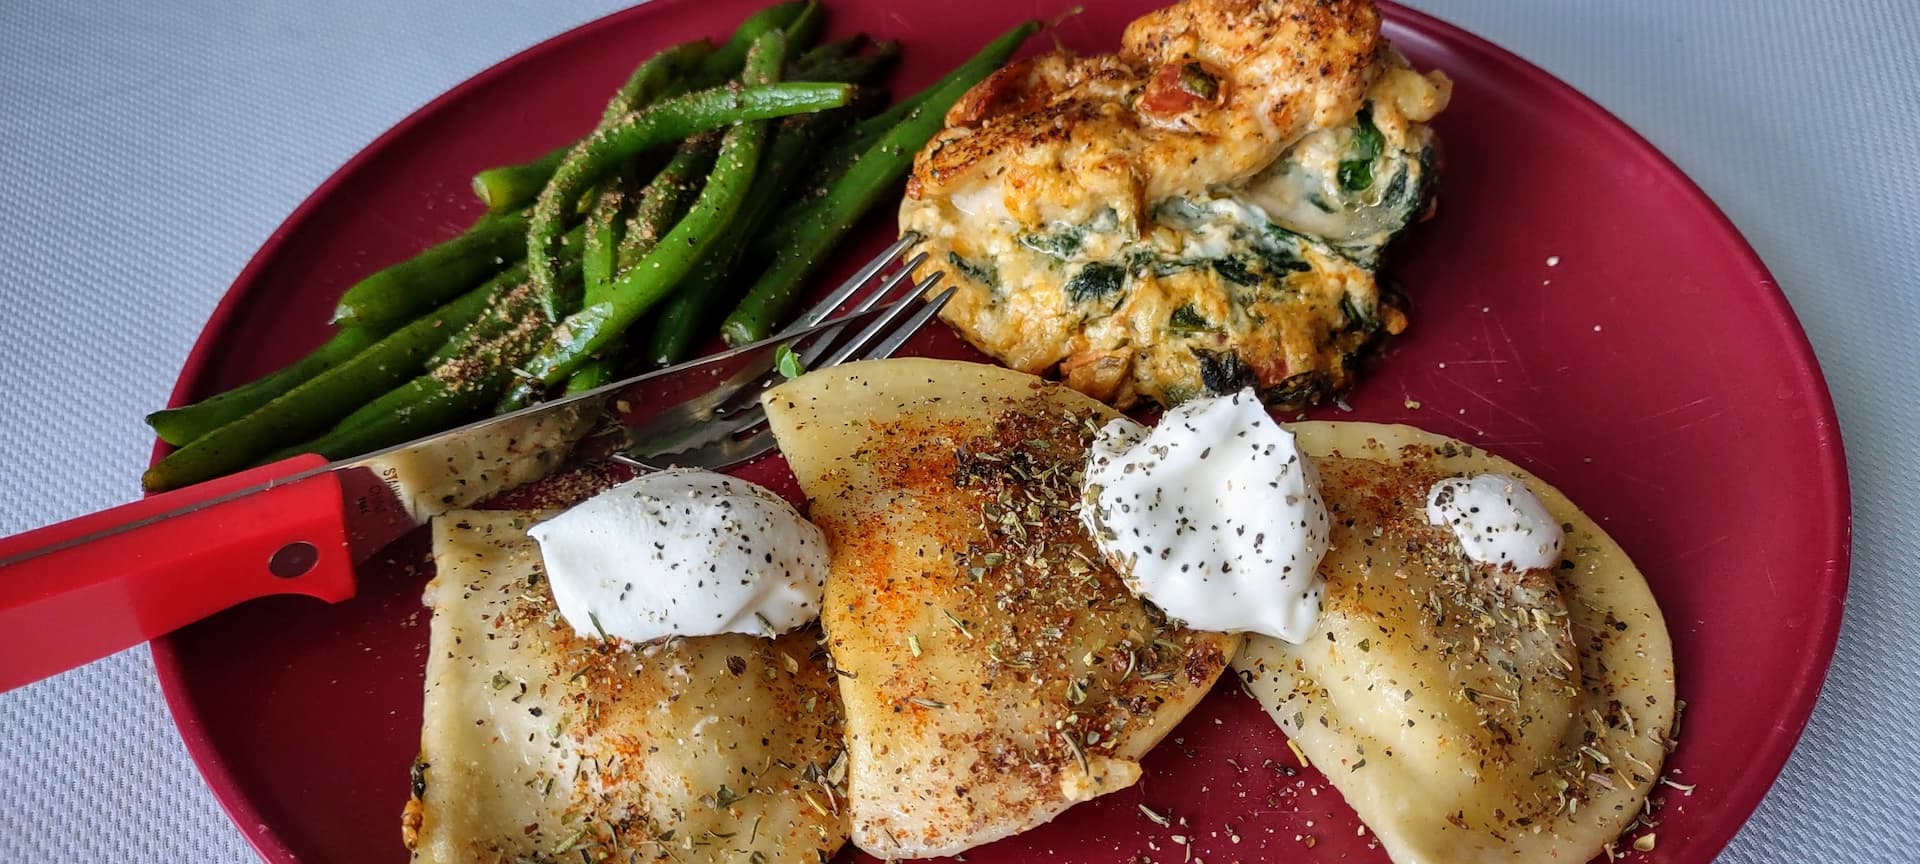
This recipe is quick and easy and includes common garden herbs. I used some fresh cherry tomatoes and basil from my garden (shredded the leaves into small pieces and sprinkled them into the ingredients). There is only about 10 minutes of prep and 20 minutes of cooking (depending on oven and chicken thickness), about 30 minutes total.
Spinach stuffed chicken goes well with many different sides. I used potato & onion pirogi and fresh green beans but pairs well with various other types of potatoes and vegetables. Other alternatives include rice, pasta, mushrooms (such as steaks or a mushroom gravy), or just a salad. Some even wrap the stuffed chicken with bacon. Let your imagination and taste buds steer the ship.
3-4 handfuls of fresh spinach (it will cook down massively, add to taste)
3 oz cream cheese
1/4 teaspoon basil
1/4 teaspoon oregano
1/4 teaspoon onion powder
2 1/2 tablespoons minced garlic
3-4 cherry tomatoes, chopped
Preparation
Preheat oven to 375°F
Season pan with olive oil over medium high heat
Add spinach and garlic, cook until spinach is reduced and wilted, stirring
Add to new bowl and combine with remaining ingredients (except paprika)
Cut pockets into chicken breast, not all the way through (best to slice through the side)
Add filling to chicken breast and fold partially closed
In the same pan you used for the spinach, re-season pad with oil (if necessary) and sear chicken breasts on all sides
While cooking, sprinkle paprika, salt, and pepper on chicken to taste
Transfer your chicken to a baking dish (if your pan is not oven-safe) and bake for 20 minutes (oven cooking times vary, use a meat thermometer to make sure chicken center reaches 165°F)
If desired, you can sprinkle some cheese (such as shredded mozzarella and/or grated Parmesan) on top and place back in oven for a couple minutes until melted
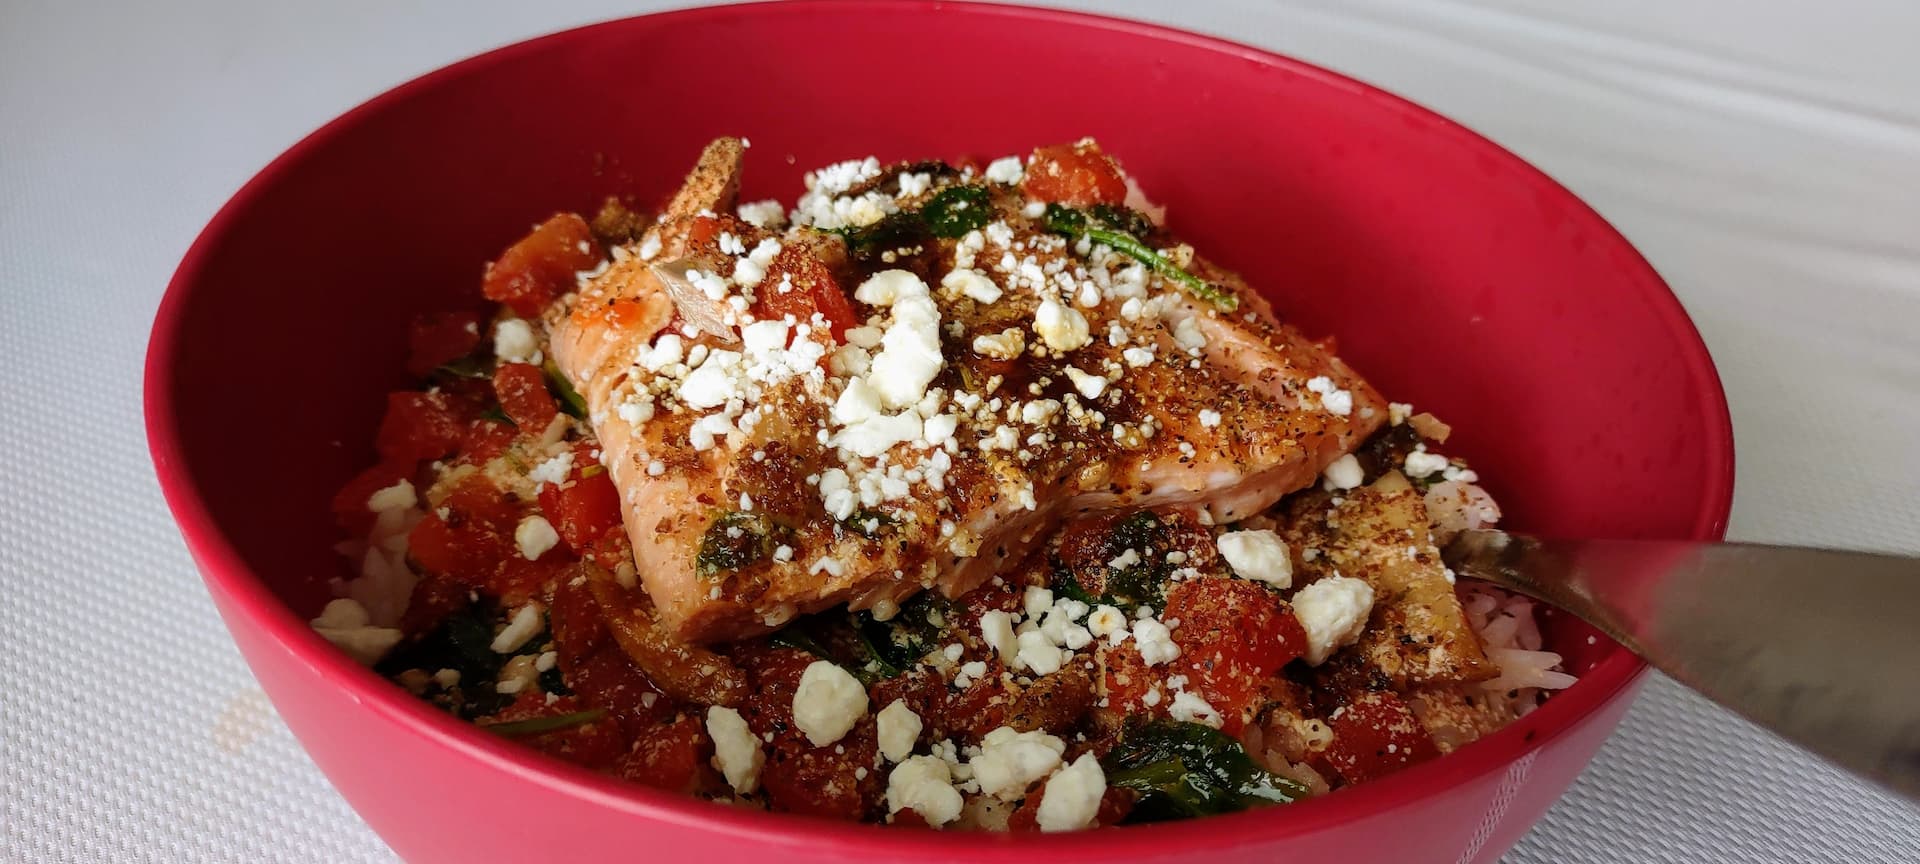
This recipe for Tuscan salmon & mushroom risotto with feta cheese is actually fairly common. However, like most recipes involving a sauce, it never produces enough. I end up lacking enough sauce for multiple servings. I have modified and added some additional ingredients to add my own flair and to make sure there is enough sauce so that 4-6 servings can be made without leaving the rice dry.
This is a delicious and quick dinner recipe that is tasty and healthy. I’ve made it multiple times and is one of my go-to favorites. It only takes about 30 minutes to prepare and make (remember to put your rice on before you start so it can cook while you are preparing the sauce and fish). It is also a colorful dish with red tomatoes, green spinach, and white feta against the golden-brown salmon fillet.
Tuscan Salmon & Mushroom Risotto with Feta Cheese Recipe
Ingredients
2 salmon fillets
2 cloves minced garlic
2 cups heavy cream (or 1⅓ cups milk & ⅔ cup melted butter)
1 cup chicken broth
1 tbsp Italian seasoning
1 handful or fresh spinach (torn or about ½ of a 16oz can of spinach leaves, drained)
A couple handfuls of cherry tomatoes or 16oz can of sun-dried or diced tomatoes
8oz package of fresh or canned mushrooms (drained, sliced)
1 cup rice (can be Arborio or your favorite variety)
feta cheese
salt
pepper
Preparation
Prepare rice as directed and to taste – I use a rice cooker that generally takes about 30 minutes to cook
Season with oil and heat large skillet to medium-high
Pat-dry salmon fillets and season with salt & pepper
Add salmon fillets skin-side down and brown 3 minutes each side, set aside
Add mushrooms and saute to taste, set aside
Add garlic and tomatoes and saute 1-2 minutes
Add cream, broth, Italian seasoning and mushrooms and bring to a boil
Reduce heat and simmer 5-10 minutes
Add spinach and simmer an additional 1-2 minutes
Turn off heat and add fillets, let sit for a couple minutes to cook fillets further, if desired
Add rice to bowl, pour Tuscan sauce over, add fillet and top with additional sauce as desired
Top with feta cheese to taste, if desired, and enjoy
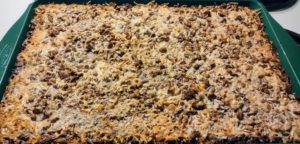
The title says eight layers… but technically they are seven-layer bars. However, I always make them with at least eight layers, or nine, or ten, or eleven. Regardless of how many layers they have, they are a delicious treat that kids and adults will love eight-layer bars.
They are a favorite around the holidays. My family has made them for Christmas going back to when I was a kid, but you can make them any time of the year. I recommend microwaving them for a few seconds to make them soft and gooey, but others prefer them room temperature.
Eight-layer Bars History
Magic cookie bars, Hello Dollies, coconut dream bars, dessert bars or eight-layer bars. The names of this dessert are as diverse at the ingredient variety. But how did it start and where did all the strange names come from? As the owl commercial says, the world may never know.
The bars have been traced back to the 1960s where there are numerous stories about how the various varieties were born. However, there doesn’t seem to be any single origin. It’s possible many at the time simply started experimenting with different ingredients and various varieties started to be popularized through TV, book, and newspaper appearances.
What about the history within my own family? It’s not actually my family’s recipe. Even though I remember them being made for Christmas quite far back, it wasn’t my family’s (or even the family it was acquired from) recipe. After acquiring my grandmother’s recipe book, it states right in it that it was from her neighbor.
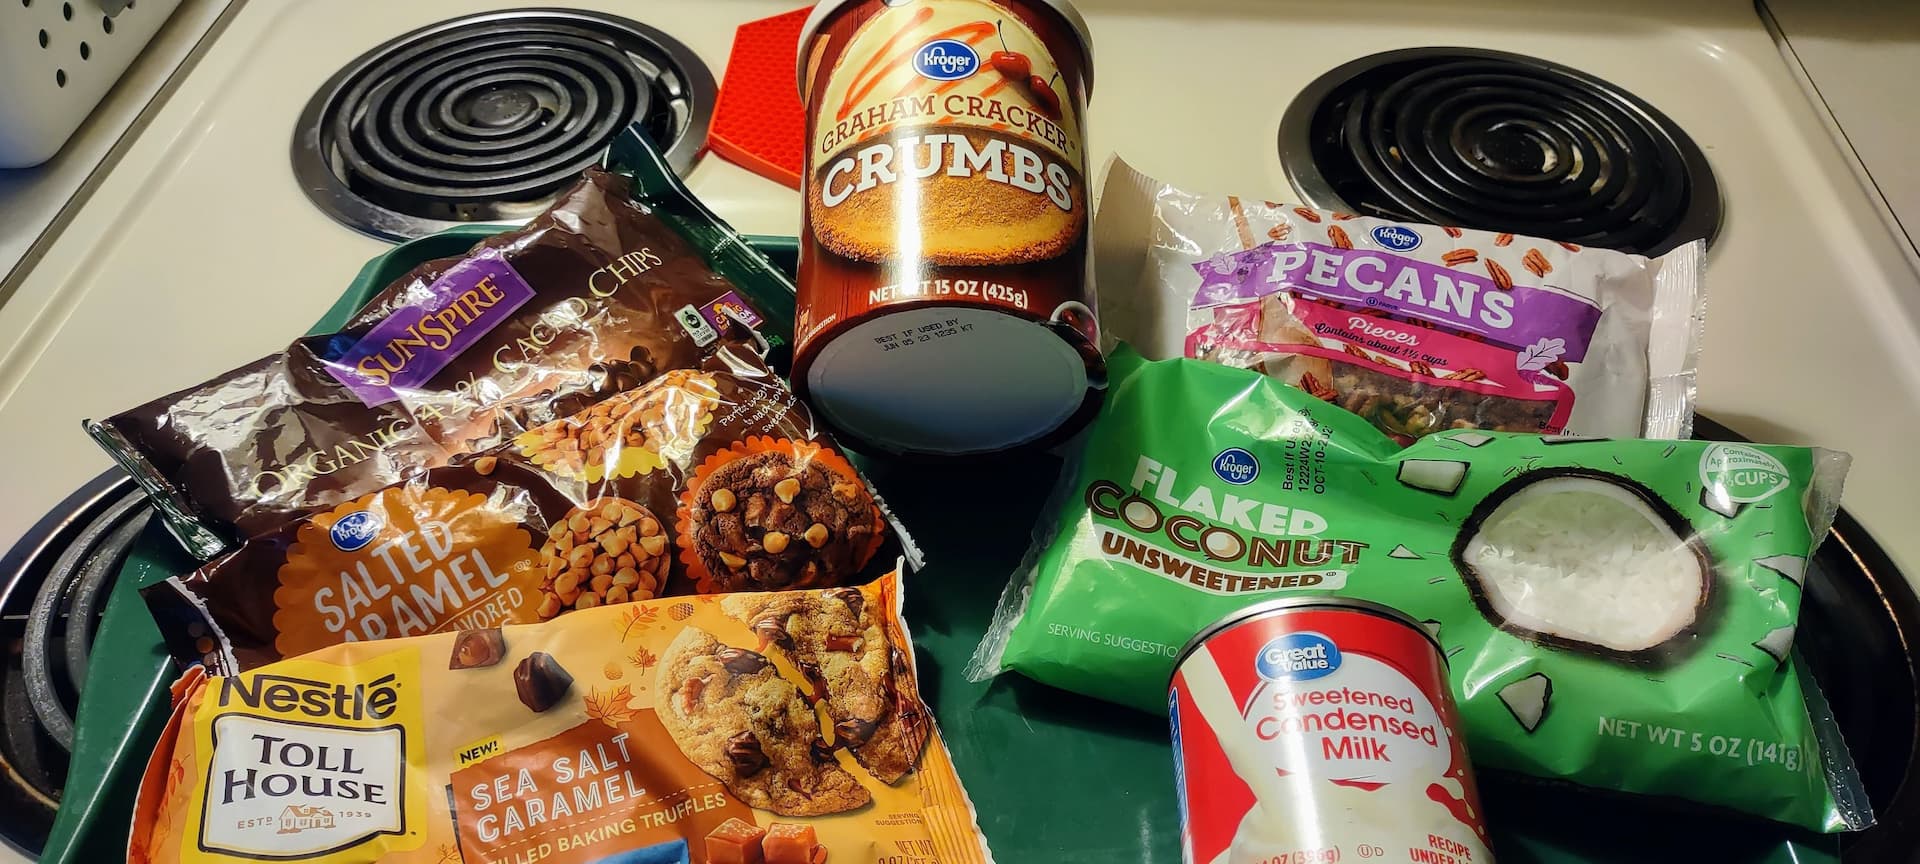
A simple search online shows it to be the Eagle Brand recipe that was printed on the back of their sweetened condensed milk cans starting in the 60s. Or possibly from a reprint of it in a local newspaper. Either way, it was a commonly known recipe. However, I’ve altered it with my own ingredient substitutions and additions over the years.
Easy To Bake But Stay Away From Prepackaged
These cookie bars are simple to make, require just a few ingredients, and about 30 minutes to make, but will be the talk of the school and office. They have a very distinctive taste, but don’t get them from a store. Few grocers make them and they tend not to have good flavor. Many store-bought sweet treats work well but seven-layer bars are not one of them.
Customizable
There are a lot of options for baking chips. I often use chocolate along with a couple of others. You can use semi-sweet chips though I prefer milk chocolate. Feel free to experiment. Use light or dark chocolate chips. Butterscotch, peanut butter, and salted caramel chips are what I typically include. While my grandmother’s generation were adamant about sticking to recipes, you can be creative and make them your own.
As for the nuts, you can leave them whole or crush them into smaller pieces. Place them into a bag and smash them partially with a hammer. Some leave them whole, but we prefer them in pieces. Pecans, walnuts, peanuts, macadamia nuts, cashews… use your favorites.
Allergy Warning
This recipe contains nuts and coconut. If you or anyone you who many consume these cookies are allergic to any of the ingredients you may want to leave them out or substitute with other ingredients.
In someone is allergic to or simply dislikes coconut, you may try substituting shredded white chocolate or oats. If a nut allergy is involved you can try substituting for sunflower or pumpkin seeds.
Eight-layer Bars Cookie Recipe
Ingredients
½ cup (one whole stick) butter
1½ cup graham cracker crumbs (1 package + 4 crackers)
2 or more bags chocolate or flavored cooking chips
1 cup shredded coconut (sweetened or unsweetened)
1 cup pecans or walnuts
1 can sweetened condensed milk
Instructions
Heat oven to 350°F.
Put butter in an 11×17½ inch pan and melt in the oven. Alternatively, put in a microwave-safe bowl and melt 20-30 seconds then pour into pan. Spread melted butter over entire bottom of pan to create an even layer.
Add remaining ingredients in the order given.
Bake for 20 minutes (oven heat & times may vary, check periodically).